I should have known. If you drop your business card into a raffle bowl of one of your vendors at a trade show, one that you bought more product from this year by a good chunk, odds are you are going to win something. I get it. I've done it, been that vendor. However, when you win a three-inch caliper balled and burlapped dawn redwood (
Metasequoia glyptostroboides), you then have to figure out where to put it. Because it's a gorgeous, unusual tree and well, I want ALL the trees. However, 30 to 40 foot wide by 100 foot high tree isn't going to fit in my already tree-packed yard.
What to do?
Hit up the family. Fortunately, my lovely brother and sister-in-law have almost NOTHING in the line of trees in their yard due to a couple of losses over the years. Huzzah! My brother-in-law made the mistake of telling me I can plant whatever I want tree-wise in his yard. Oh, sweetie, you don't know what kind of crazy you just unboxed with that. Fortunately, they live five blocks away from me so I can go visit my new babies. We have small, suburban yards, so we can only plant so many huge fast-growing shade trees. And this one is FREE!
I cajoled the guy who does plantings for work to come with me to the nursery and pick up the tree because he has a big enclosed work trailer. We dropped it in the backyard and I took one look at the transformer in the back corner and realized I'd forgotten to do the JULIE request to locate utilities. So, our new baby hung out for a week before my long-suffering husband and I planted it.
After a week of TLC by our niece, the redwood was already pushing out roots, raring to go.
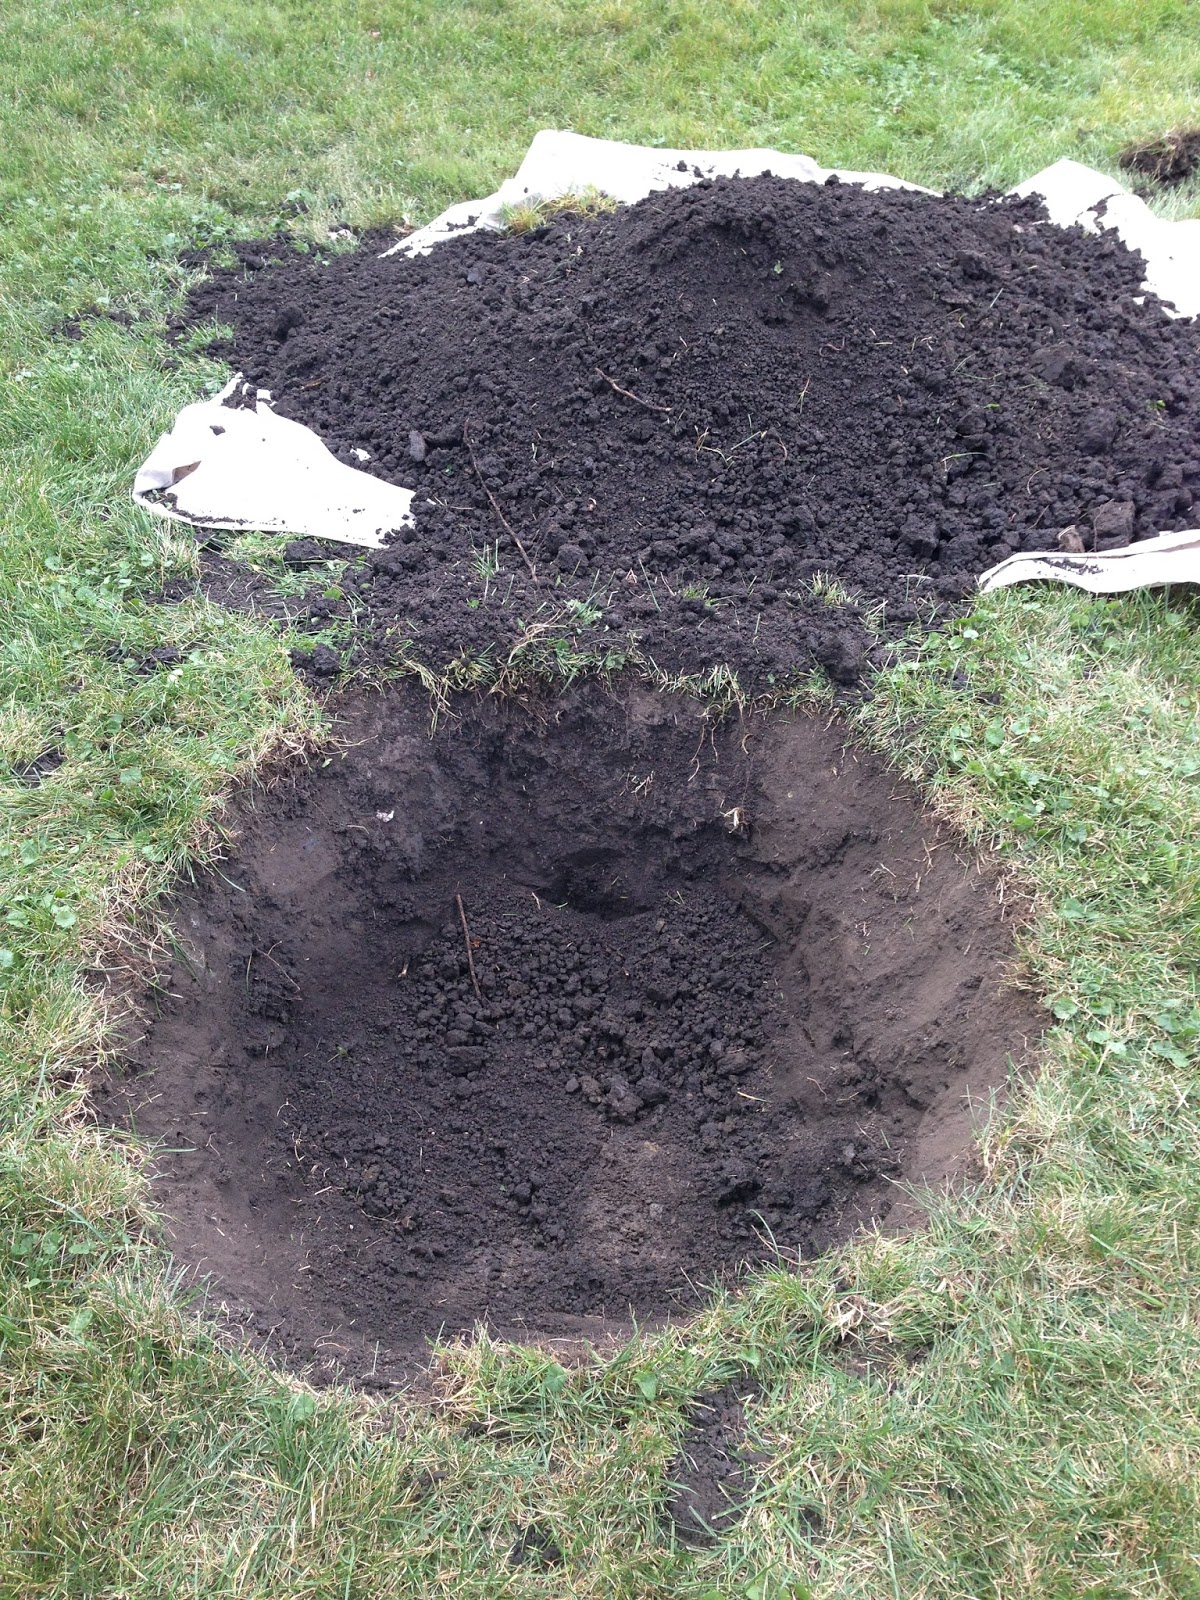
Step One: dig hole. There's something so satisfying about that first shovel blade sliding into the soil, the first wedge of turf tossed to the tarp. Luckily, this yard has some beautiful soil. Rich, loamy, and easy to dig.
Ideally, you want to dig a hole about one and a half to two times the width of the root ball. Because this soil is so lovely, we can get away with a little smaller. The fine rootlets will dive right into this beautiful stuff.
I like to use a tarp or a wheelbarrow from the get-go. It makes for infinitely easier clean up. See how gorgeous that soil is? Using the two shovels to measure, I ensured that the hole is not too deep. You want the tree to be planted no deeper than the level of the root flare. A inch or less higher isn't a bad idea. The tree will adapt. Too deep, and you can seriously impact the health of the plant. Woody plants resent being planted too deep and will struggle. Planted several inches too deep and they can die.
Step Two: unwrap tree. I was all happy that initially it seemed that it didn't have a wire cage. It was going to be easy! Breezy! Ha. No. The first layer of burlap was just gift wrapping to make it look pretty. Took that off to find...
Wire basket. Wonderful. Best Beloved did a run home for the tin snips. This is heavy gauge wire, so the average wire cutter won't do. So while, I'm waiting for him to return, I start cutting the twine and examining the top of the root ball. Because these trees are harvested by tree spade, in most cases, soil is thrown up against the trunk before the crews do the burlap.
As I went hunting for the root flare, the part of the trunk that flares out into the root system, it was discouraging, but not surprising, to find it about three or four inches from the top of the root ball. Hmmmm. We'll have to remove some of this soil once we get the tree in the hole.
Here we've taken ALL of the wire basket off. Why? So that when the anchor roots grow bigger than the basket openings, they don't get girdled or strangled. That's heavy gauge wire, remember. It's going to outlive you and me and the tree. Well, maybe not the tree. At any rate, it's best if you can remove it. If you can't remove it, at least bend it down to the bottom of the hole. Tree roots grow in the top 18 to 24 inches of soil, so bending it below that level will allow our new baby to send out as many roots as it likes.
Step Three: roll this 300 pound puppy into the hole. Some swearing ensued. Thank God it did not have a flat side so we didn't need to rotate it for best effect. Foom! Into the hole we go.
One tree in! Now we unwrap the burlap and let it come to rest in the bottom of the hole. Why? Well, burlap tends to have a bit of nylon in the blend sometimes and that keeps it from decomposing. The goal is to settle in the tree and give its poor roots all the growing opportunities we can so it establishes well. Same deal with the basket, the burlap goes to the bottom of the hole where it can decompose and feed the critters.
Remember earlier when we found the root flare three or so inches down? Once the tree was in and leveled, we scraped off the excess soil from the top of the ball.
Step Four: backfilling the hole. Use whatever came out of the hole to fill in. Trees are by and large very adaptable if given the right sun and drainage. They don't need fancy dancy fertilizers. If you desperately need to give them some love, add in a bit (like a few shovel-fulls) of compost or a couple of cups of mycorrhizae-based root stimulator. This is a healthy soil profile, so we don't need to add a damned thing. It's rich in microorganisms. I water the loose soil in at the one and two-thirds point. This lets the soil settle and fills the pores with water. It also waters the tree.
One more soaking once the soil is completely backfilled! I like to soak the hell out of it. Let the water puddle to the point it lingers a few minutes once you stop. I think the most important part of watering is PAYING ATTENTION! How is the water behaving once it hits the soil? Does it soak in? Does it run off? How long does it take to soak in? How long does it take for the puddle to linger?
OK. Tree is in and soil is in. We dumped the rest along the fence in an existing bed.
Step Five: it's time for mulch!
That's our mountain of municipal mulch. We can cart away as much as we like and it's free. Yes, this batch is pretty fresh, but research has shown it doesn't make a significant difference in affecting nitrogen levels when applied. And it's free.
Here we are with a nice two inches of mulch out to the dripline. It is pulled away a little bit from the base of the tree. Never. Volcano. Mulch. Mulch against the bark leads to rot and provides a nice home for critters.
All done! Now my niece can water to her heart's content.








 Posts
Posts


